My Casita: Before Glamping
Over the last several weeks, I have turned my Casita Travel Trailer into a Glamper. In this introductory article, I include pictures of my Casita’s appearance before Glamping, my thought process, and other resources. You will find links to my remaining seven “How-To” articles in the series at the end of this page.
Because I knew my limitations for restoring my Casita, the process of Glamping my Casita has been delightful, which leads me to my one piece of advice for you to consider if you are preparing to buy an old travel trailer to Glamp: KNOW YOUR LIMITS! (i.e., time, costs, renovation experience, facilities, etc.)

Consider your Limitations:
For me, the most crucial factor to consider was facilities.
Since I live in a community that does not allow travel trailers or RVs to stay on the property longer than it takes to prepare them for a trip, I knew I could not do a big tear-out project.
Because of this critical restriction, buying my 2006 Casita in good condition gave me the “vintage” look I wanted and allowed me to focus on more straightforward restoration projects and decorating. The only significant restoration project I had to complete was installing new flooring.
Think about joining a group:
Since the best-made plans can still create unforeseen problems, seeking help from those with experience is essential!
advertisement
I am a member of many camping/glamping/boating groups (see my Resources page for a list), but one group I found very helpful as a newbie was the “Meg’s Glamping for Beginners” (originally Lou’s) Facebook Group.
This is a closed group, so you must join to take part. You must also be female and involved in camping (men can join with exceptions). But I don’t think you will be disappointed once Meg accepts your membership. This group is full of helpful and passionate glamping women!
But don’t stop with “Meg’s!” Many online groups help you with your project and make new friends.
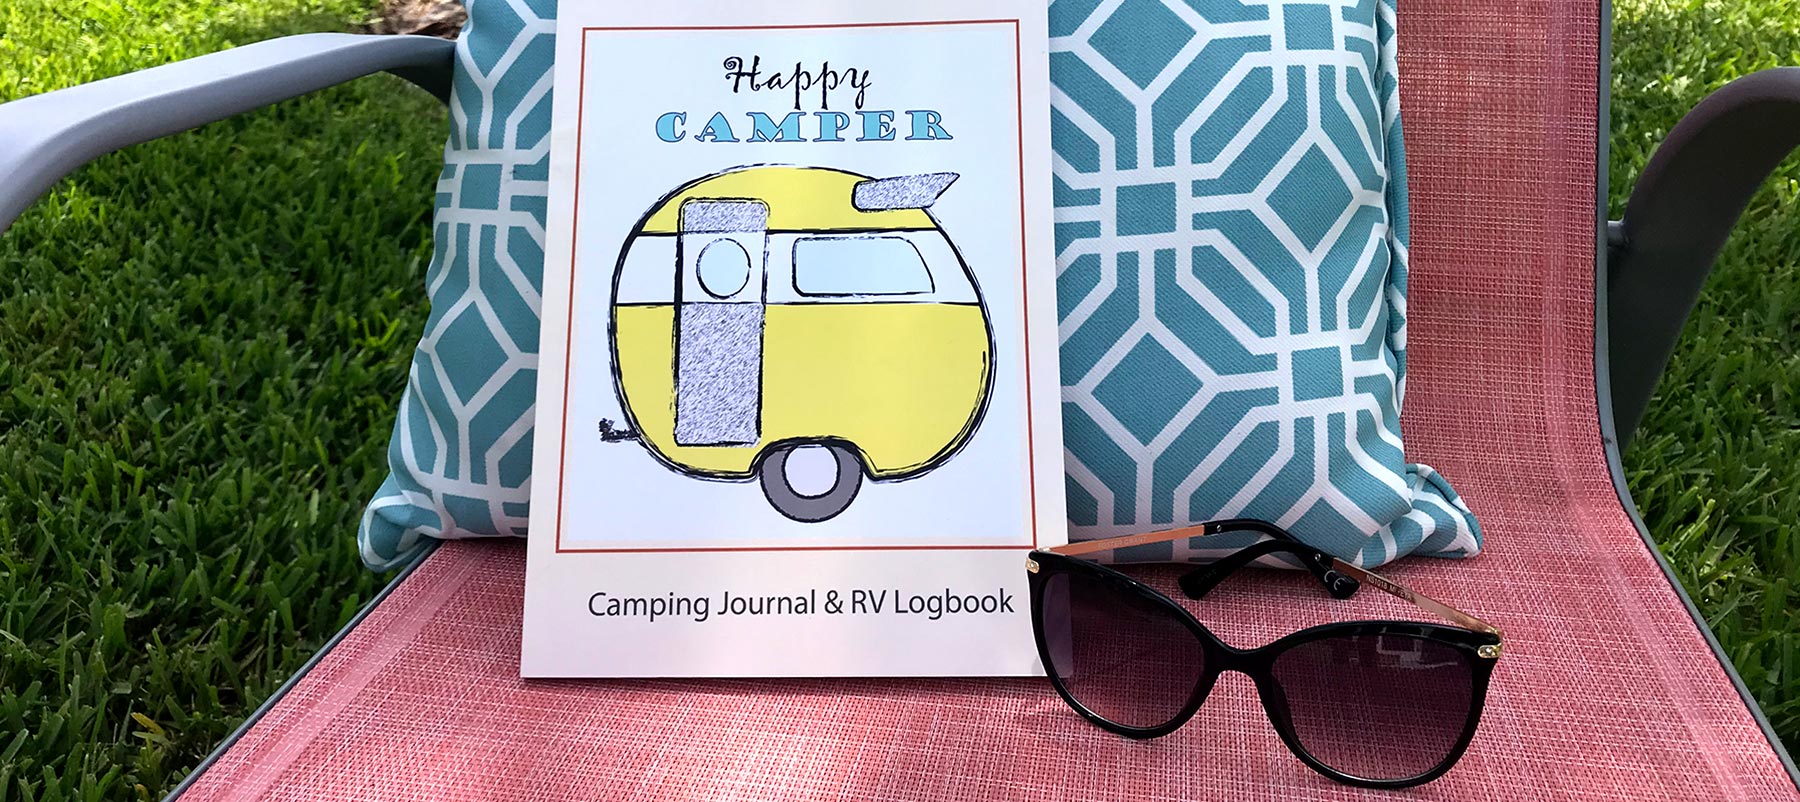
Want to keep track of all your camping memories and details?
Then order a copy of Mrs. Padilly’s “Happy Camper” Camping Journal
& RV Logbook!
Click HERE to get your copy today. #ad
The Reveal Begins
With my Casita complete with her Glamp-over, we have taken her on many outings, including a trip to Colorado, Texas Hill Country, Indiana, and many points in between.
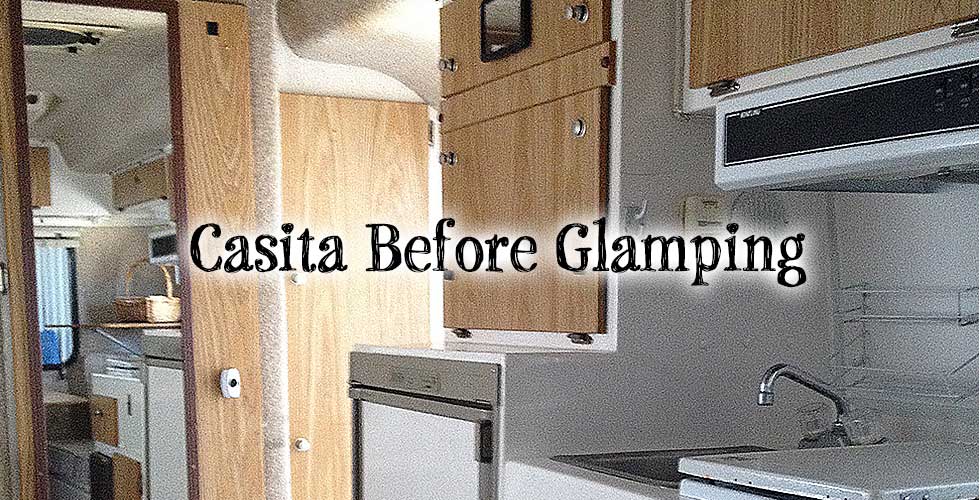
To begin the steps I took for Free Range’s makeover, here are a few photos of the inside of my Casita BEFORE she was Glamped:


In these two photos, you see the large dinette table set up in one image and the space set up in the bed position in the other photo. My camper will be set up in the bed position.
In the next photo, you see a close-up of the carpeted interior. As you can see, this is not your 1970s carpeted van, but a nice soft plush wall needed to cover the interior walls and wires used in this two-piece fiberglass unit.
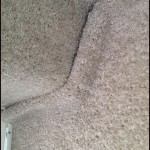
These carpeted walls are also great insulators! That was a pleasant surprise. For example, my husband and I worked on the camper, and I tried to speak to him through the walls (the windows were closed). No luck; I needed to go out the door for him to hear me.
 In the photo (right), I am preparing to complete my first major project: cleaning all the carpets with my rug shampooer.
The carpet restoration process was the most challenging and labor-intensive part, but it was well worth it.
After cleaning the carpet and thoroughly scrubbing everything else, this eight-year-old Casita looked and smelled new!
She is ready for Glamping!
Ready to see the steps I took to transform my Casita? Click on the first link in the Casita Glamping Makeover series: Chalk Painting Cabinet Doors below.
As you read through these projects, if you have any questions, comments, or experiences of your own, please share! I love hearing from my readers!
But even if you have nothing for the “Comment” section, please don’t overlook it! My readers’ questions provide a lot of additional good information.
Happy Trails!
Mrs. Padilly
last updated: June 18, 2025
Mrs. Padilly’s Series on her 17′ Spirit Deluxe Casita Travel Trailer’s Glamping Makeover:
Introduction:
- My Casita Travel Trailer’s “Before Glamping” Pictures
Casita Glamping Makeover:
- Chalk Painting Cabinet Doors
- Adding Teal Paint to Accent Surfaces
- Installing a Tile Backsplash
- Installing Wood Vinyl Flooring
- Stenciling the Screen Door
- Window Treatments
- Dressed for Glamping
Discover more from Mrs. Padillys Travels
Subscribe to get the latest posts sent to your email.
Beautiful!! Thanks for sharing helpful directions!
Where did you found the vinyl cow sticker?
Dee, I found it at Hobby Lobby. It was part of a pack of “country” stickers (8 x 10) that I found in the sticker aisle.
thank you so much for the answer
Looks exactly like mine in Huntsville!
Yes! It will be at the house Thursday/Friday if you want to swing by and see it. Just message me. 😉
LOL, cteachr, I prefer to use the term “teal,” and yes there are some additions of that color, which you will see in future posts on my Glamping transformation (not to mention, lace). 😉
I ran in to a man in Wyoming who gave me a tour of his Casita. It was identical to yours. What changes have you made to yours to glamp it up? I was expecting some turquoise touches.